Video Editor
The Vidrush Editor is where you refine your AI-generated video. It allows you to search for new media, tweak audio levels, and manage your timeline with precision.
[I´ll insert some Videos]
ℹ️ Project Info Panel
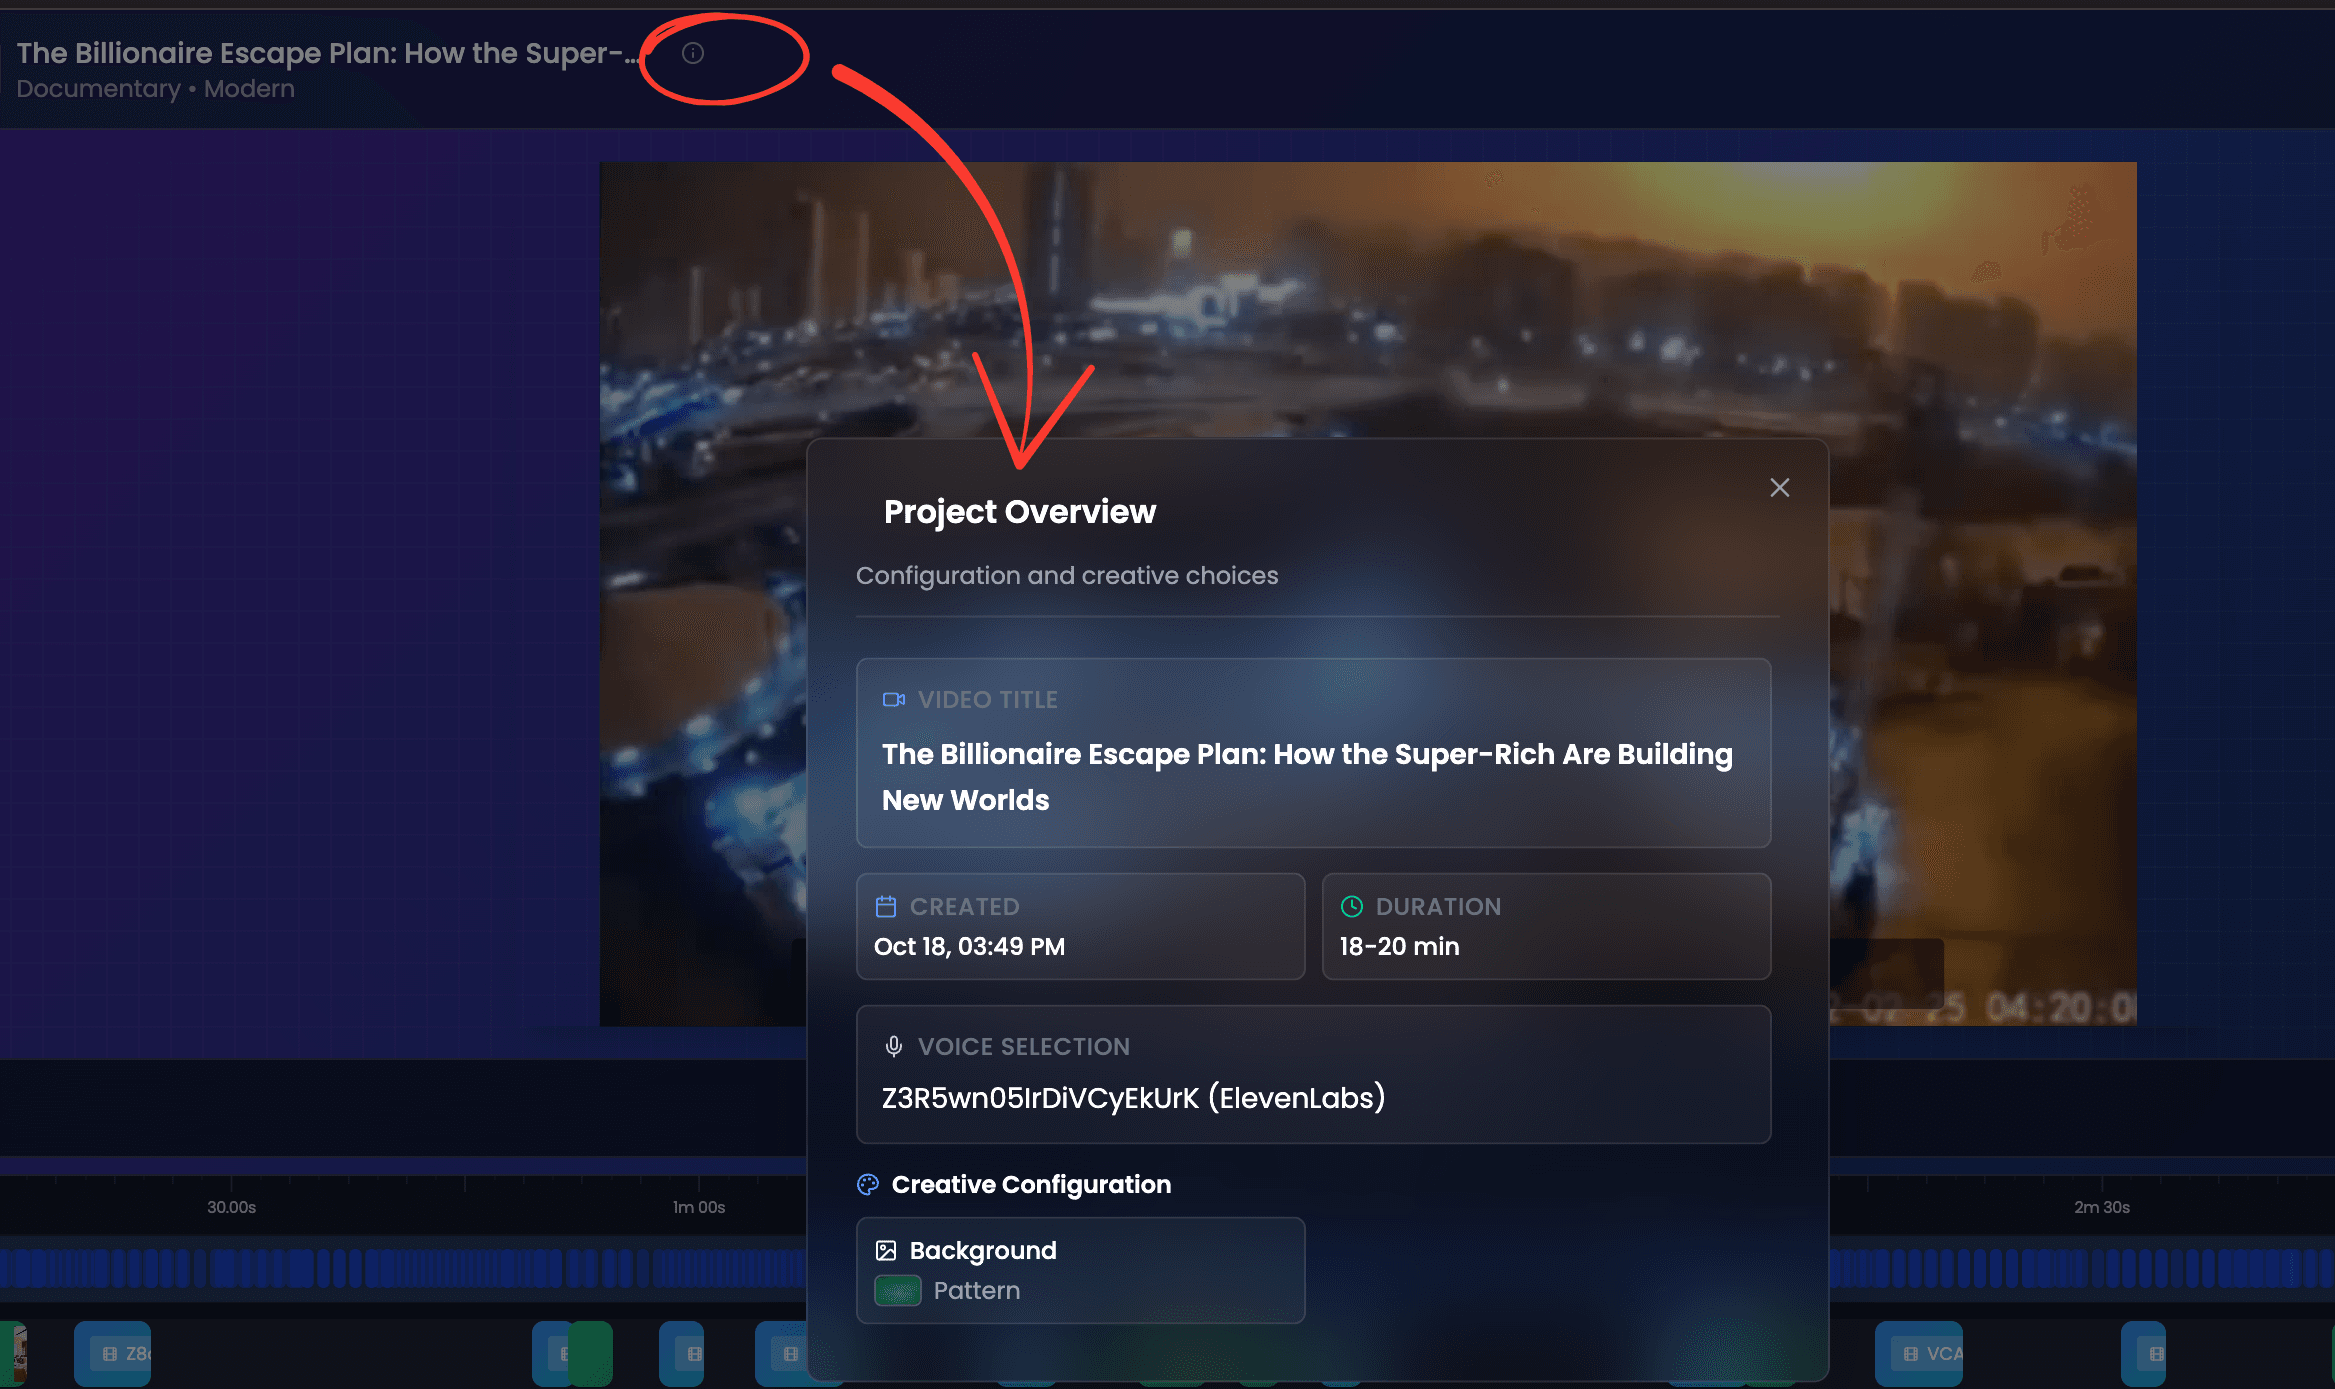
Located at the top of the screen, next to your project title, click the “i” (Info) button to view critical details:
- Project Metadata: Title, creation date, and total video duration.
- Voice Settings: The specific ElevenLabs Voice ID used (useful if you need to replicate the voice later).
- Visual Settings: The active Theme and Background Image.
🛠️ Canvas & Timeline Settings
Located on the right side of the editor, these settings control the global behavior of your project.
| Setting | Description |
|---|---|
| Canvas Background | Sets the color or image behind your video layers. |
| Overlay Drop Shadow | Toggles visual shadows under overlay elements for depth. |
| Show Transitions | (New) A master switch to hide or show all transitions in the video instantly. |
| Enable Captions | A master toggle to turn auto-generated subtitles on or off. |
| Sound Controls | (New) Global volume sliders for three audio tracks:<br>• Template SFX: Sound effects attached to transitions/animations.<br>• Video Audio: The sound from B-roll video clips.<br>• Audio Overlay: The background music track. |
| Zoom | Use the slider or “Zoom Here” / “Center” buttons to navigate the timeline precisely. |
| Rows | Add (+) or remove (-) layers to your timeline. |
| Reset Timeline | (Magic Button) Reverts the project to its initial AI-generated state. Useful for fixing layout errors. |
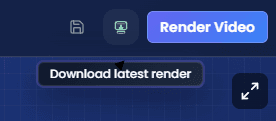
The Bottom Toolbar (Export Tools)
At the very bottom right of the screen, you will find three critical icons:
- 📄 Export Transcript: Instantly downloads the text transcript of your video.
- 📥 Download Video: Downloads your latest rendered video file.
- ⚙️ Settings: Opens the panel described above.
📂 The Media Sidebar (Left Menu)
This is where you find assets to build or customize your video.
🎬 Video & 🖼️ Image Tabs
- Search: Type keywords (e.g., “happy,” “office,” “space”) into the search bar.
- Add to Timeline: Click on any clip or image to instantly place it onto your active timeline track or replace a selected element.
🔄 Smart Transitions System
Vidrush now uses an intelligent transition engine.
- Automatic Balancing: The system automatically places transitions (Glitch, Film-Burn, Slide Pan, Zoom) strategically. Expect a 70/30 ratio—heavier transitions are used in the hook and outro to keep retention high, while the core video uses more direct cuts for better pacing.
- Smart SFX: Transitions come with sound effects, but the system intelligently mutes them in specific spots to avoid audio fatigue (spamming swoosh sounds).
- Manual Control: You can click any transition marker on the timeline to change its type or delete it entirely.
✨ Animations
- Library: Contains professional motion graphic templates.
- CTA: Look here for the Subscribe Template. You can add it with a single click to boost your channel growth.
✨ How to Add a Subscribe Button
You can manually add a Call-to-Action (CTA) to any video in seconds:
- Open the Animations tab on the left sidebar.
- Search for “Subscribe”.
- Locate the “Subscribe CTA Overlay”.
- Drag and Drop it onto your timeline (usually at the end of the video or after the hook).
- Note: If you use a Custom Script and write “Subscribe for more” at the end of your text, the AI will often do this for you automatically.
📁 Local
- Upload: Use this tab to upload your own files (Voiceovers, Logos, B-roll) directly from your computer.
🎵 Audio
- Music Library: Browse and select background tracks.
- Volume: Remember to use the Sound Controls on the right to balance the music volume against the voiceover.
🎞️ Timeline Overview

The timeline is composed of six fixed layers, arranged from top to bottom:
- Captions (Light Blue): Auto-generated subtitles.
- Visual Layers (Blue/Green): B-roll videos (Blue) and images (Green).
- Voiceover (Dark Orange): The AI narration blocks.
- Background Music (Yellow-Orange): The soundtrack.
- Animation / Templates (Purple): Motion graphics and transitions.
Pro Tip: Always Zoom In on the timeline when editing. It makes selecting small clips and trimming edges significantly easier.
💾 Finalizing & Exporting
Once you are happy with your edit:
- Click Render Video to process your changes (transitions, color corrections, etc.).
- Troubleshooting: If you hear audio glitches in the preview, Render First. 90% of preview audio issues disappear in the final render.
- Use the Download Icon in the bottom toolbar to save the file.