Editing Your Video
This page covers the editing tasks you’ll use most often, replacing clips, adjusting audio, working with text, and managing transitions.
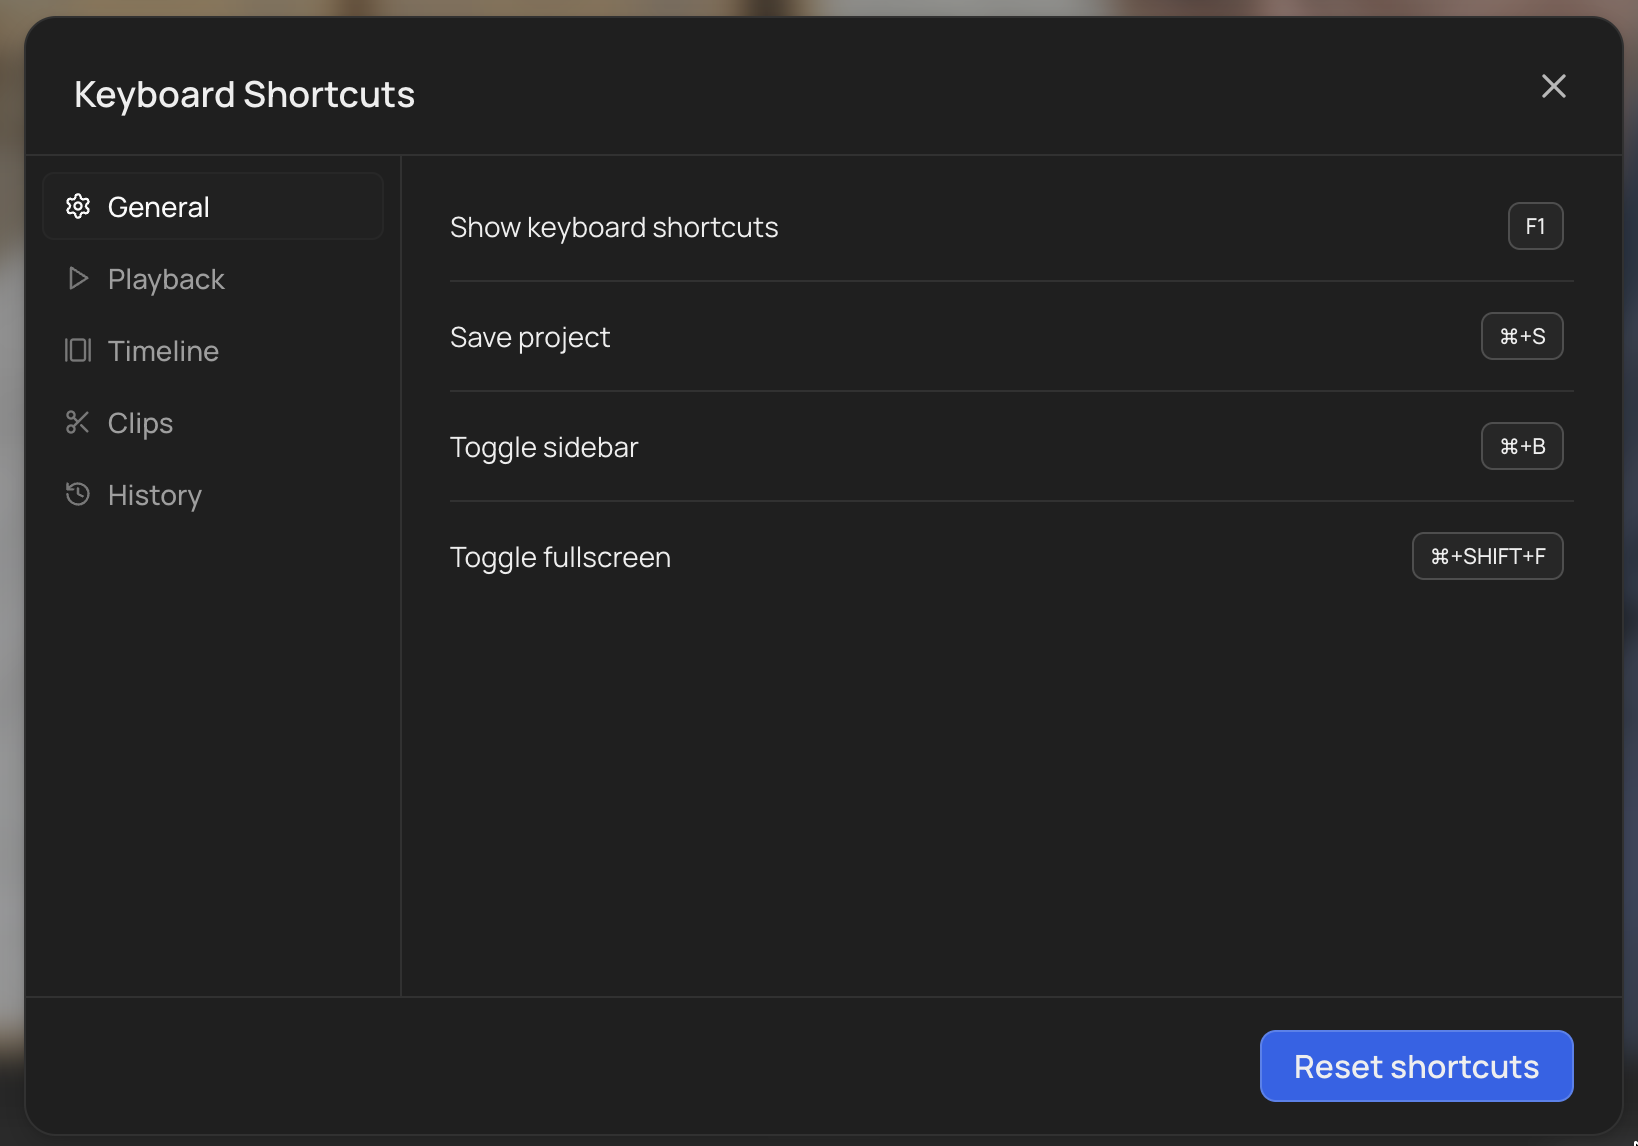
Keyboard shortcuts
The new editor supports keyboard shortcuts for faster editing:
- Zoom timeline: Ctrl + Mouse Wheel
Replacing a clip
Click any visual element on the timeline, then select Replace Media. You have three options:
- Stock library: Search VidRush’s built-in library for a replacement.
- Storyblocks: search the integrated Storyblocks library directly. The footage is licensed.
- Local upload: Upload an image or video file from your computer via the “Local” tab.
- URL paste: Paste a direct image or video URL from the web to grab a specific asset.
Adjusting audio
All audio controls live in the Canvas & Timeline Settings panel on the right side.
Background music too loud? Lower the Audio Overlay slider. This adjusts the music volume relative to the narration.
Transition sounds too aggressive? Lower the Template SFX slider.
Video clip audio interfering? Adjust the Video Audio slider to control the volume of embedded clip audio.
You can also manage individual audio elements directly on the timeline. The orange blocks represent narration, and you can click them to adjust or replace specific segments.
The Audio tab now includes the integrated Storyblocks library for licensed music and sound. Search for a track and drop it straight onto your timeline.
Working with captions and text
Toggle captions on or off using the Enable Captions switch in the right panel. This controls subtitle visibility globally across the entire video.
Editing text overlays: Click any text element on the timeline or canvas to edit its content, position, size, or styling. Text styling options depend on the theme you selected during generation.
Adding text: Use the Text tool in the left sidebar to add new text overlays anywhere on the timeline.
Managing files in bulk
Open Files in the left sidebar. You can now select multiple assets at once and apply bulk actions, and you can sort your local footage to keep large projects organized.
Animations and overlays
Open the Animations section in the left sidebar to browse available overlays:
- Subscribe CTA: A subscribe button overlay. Drag it onto your timeline near the end of the video. If you used a Custom Script with “Subscribe” near the end, VidRush may have added this automatically.
- Chapter titles: Section header animations that appear between segments.
- Other motion graphics: Various overlays available depending on your selected theme.
To move an animation on the timeline, drag it to the desired position. Some animations have limited customization, if you don’t see a setting you need, open a feature request on Discord.
Transitions
VidRush uses a Smart Transition System, typically a 70/30 ratio of cuts to animated transitions.
Edit a single transition: Click the transition marker between clips on the timeline. You can change the transition type or delete it entirely.
Disable all transitions: Toggle off Show Transitions in the Canvas & Timeline Settings panel. This removes all animated transitions globally, leaving only hard cuts.
Timeline navigation
Can’t select small clips? Zoom in. Use Ctrl + Mouse Wheel or the Zoom slider in the right panel to expand the timeline view. The “Zoom Here” button centers the zoom on your current playhead position.
Magnetic Snapping (enabled by default) helps elements align to each other on the timeline. Turn it off in the right panel if you need pixel-precise placement.
Hiding elements: You can hide any timeline element so it won’t appear in playback or the final render. This is useful for temporarily removing a clip without deleting it.
Exporting the transcript
Click the Export Transcript icon in the bottom-right toolbar to download the full narration text as a file. This is useful for YouTube descriptions, blog posts, SEO optimization, or creating companion written content.