Editor Overview
The VidRush Editor is where you refine your AI-generated video before publishing. Every generated video lands here automatically. This is your quality-control step between generation and upload: swap visuals, adjust audio, tweak text, and fine-tune the final product without leaving the platform or needing prior editing experience. V2 ships a new editor UI. Most workflows carry over from the previous version; the layout below covers what you will see now.
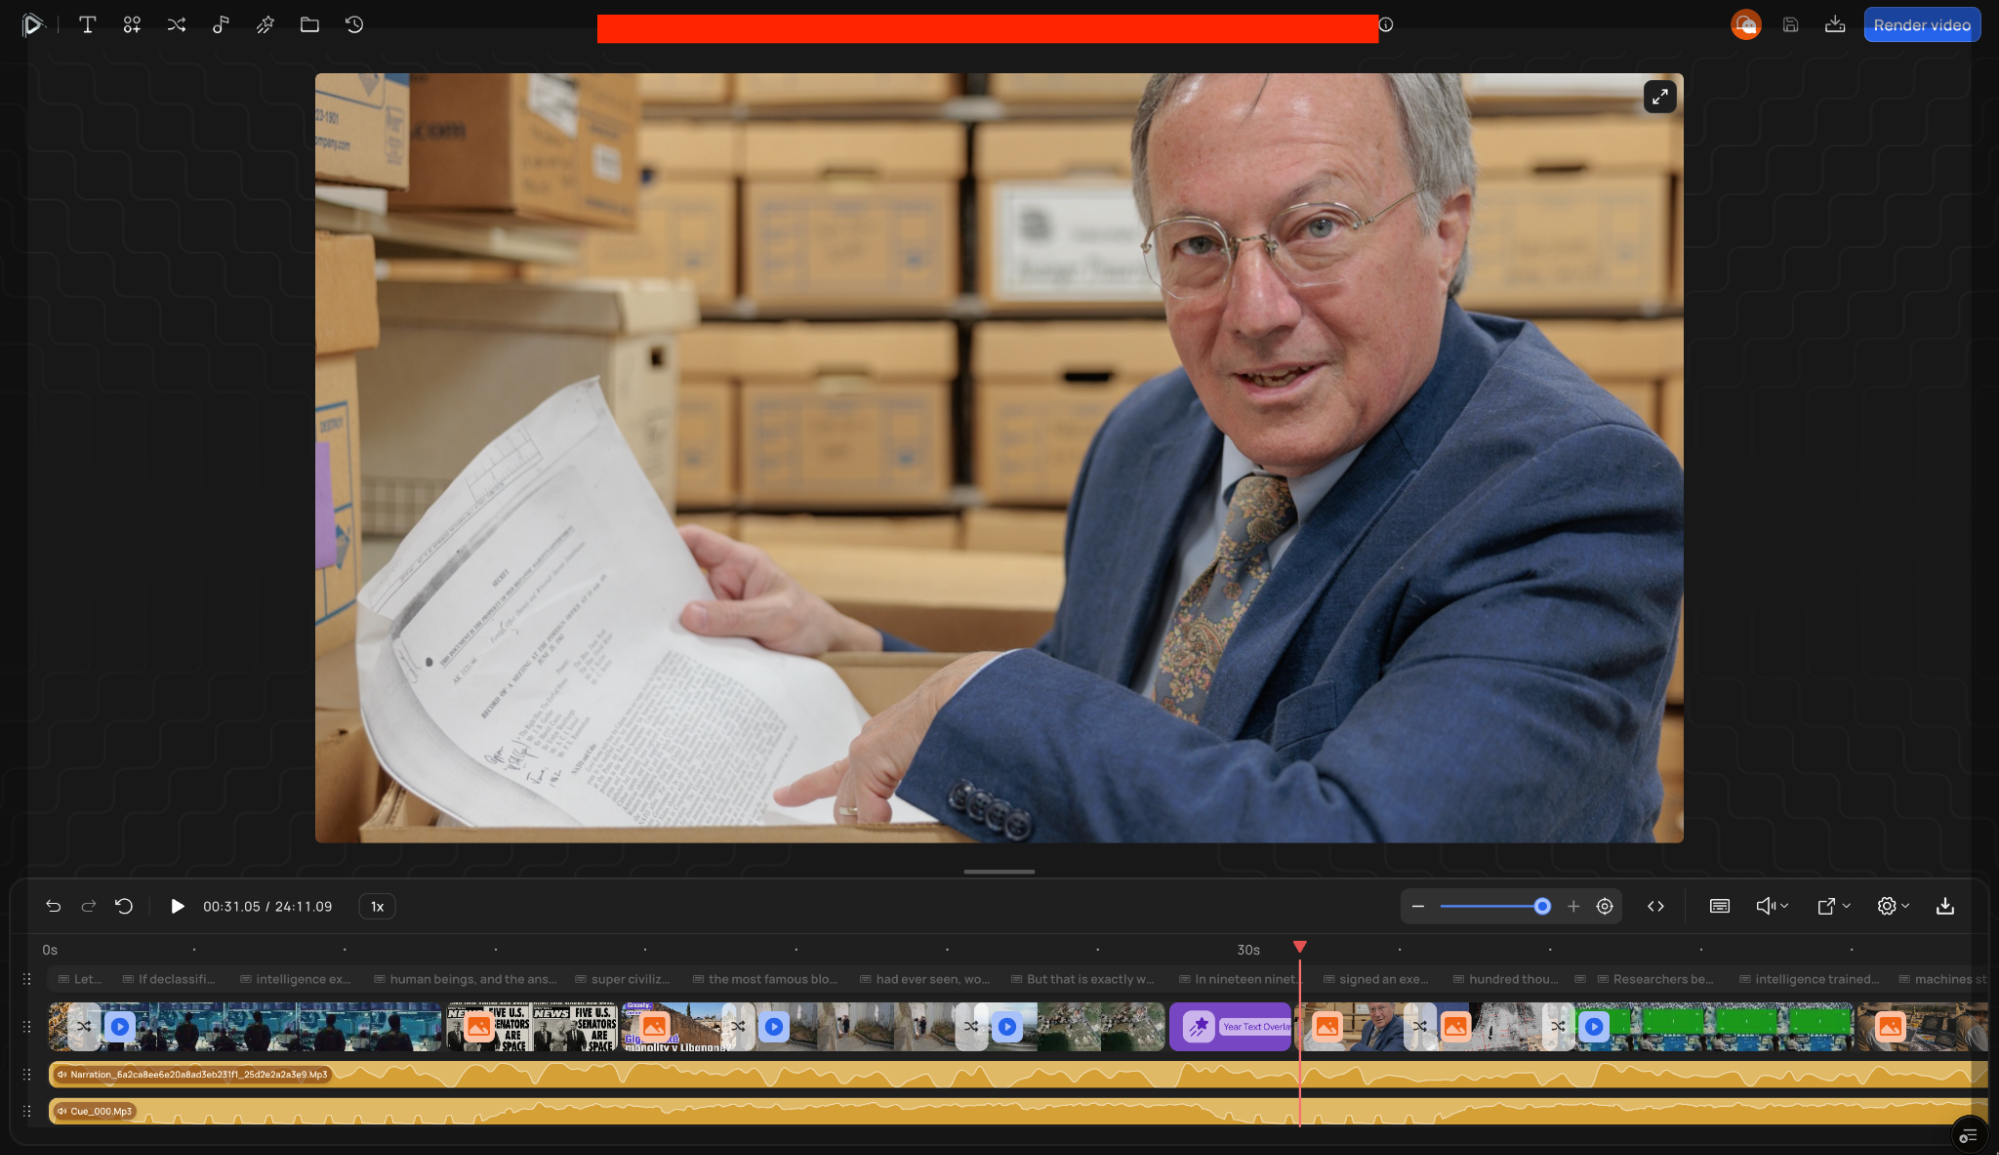
Editor layout
Preview canvas (center): a live preview of your video. What you see here is what your rendered video will look like.
Left Top Bar (tools), your editing toolbox:
- Media library: search and replace footage, images, or clips. Upload your own from the “Local” tab or paste a direct URL.
- Text: edit, add, or remove text overlays and captions.
- Audio: narration tracks, background music, and sound effects, now with built-in Storyblocks integration for licensed audio.
- Animations: overlays like the Subscribe CTA, chapter titles, and motion graphics.
- Templates: template-specific elements and settings.
- Files: all media assets in your project, now with bulk actions (select many assets at once to manage, sort, or delete) and sorting for your local footage.
- History: revert to any previous auto-saved snapshot, including the original AI-generated version (version xyz).
Canvas & Timeline Settings (right panel on gear icon):
- Background Color
- Background Image
- Overlay Drop Shadow
- Show Transitions
- Enable Captions
- Sound Controls
- Magnetic Snapping
- Zoom
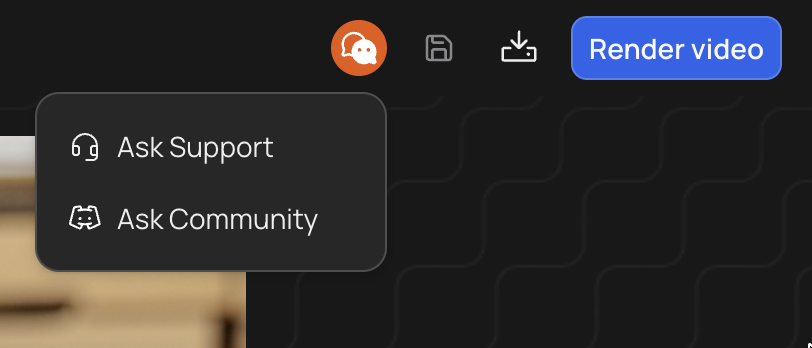
Top bar: the project title and format, the info (i) button with the video’s details (prompt, model, settings used), and the new Ask Support button. Press it and the support chat opens inside the editor, so you can get help without leaving your project.
Bottom toolbar: Export Transcript, Download Video, Settings.
Getting oriented:
- Watch it through first.
- Auto-Save is always active.
- History tab for reverts.